Adding a contact
- Go to Contacts in the sidebar
- Click Add Contact in the top right (or press C)
- Enter the contact’s details:
- Title, First name, and Last name
- Phone (with country code) and Email
- Company the contact belongs to
- Job title and Owner
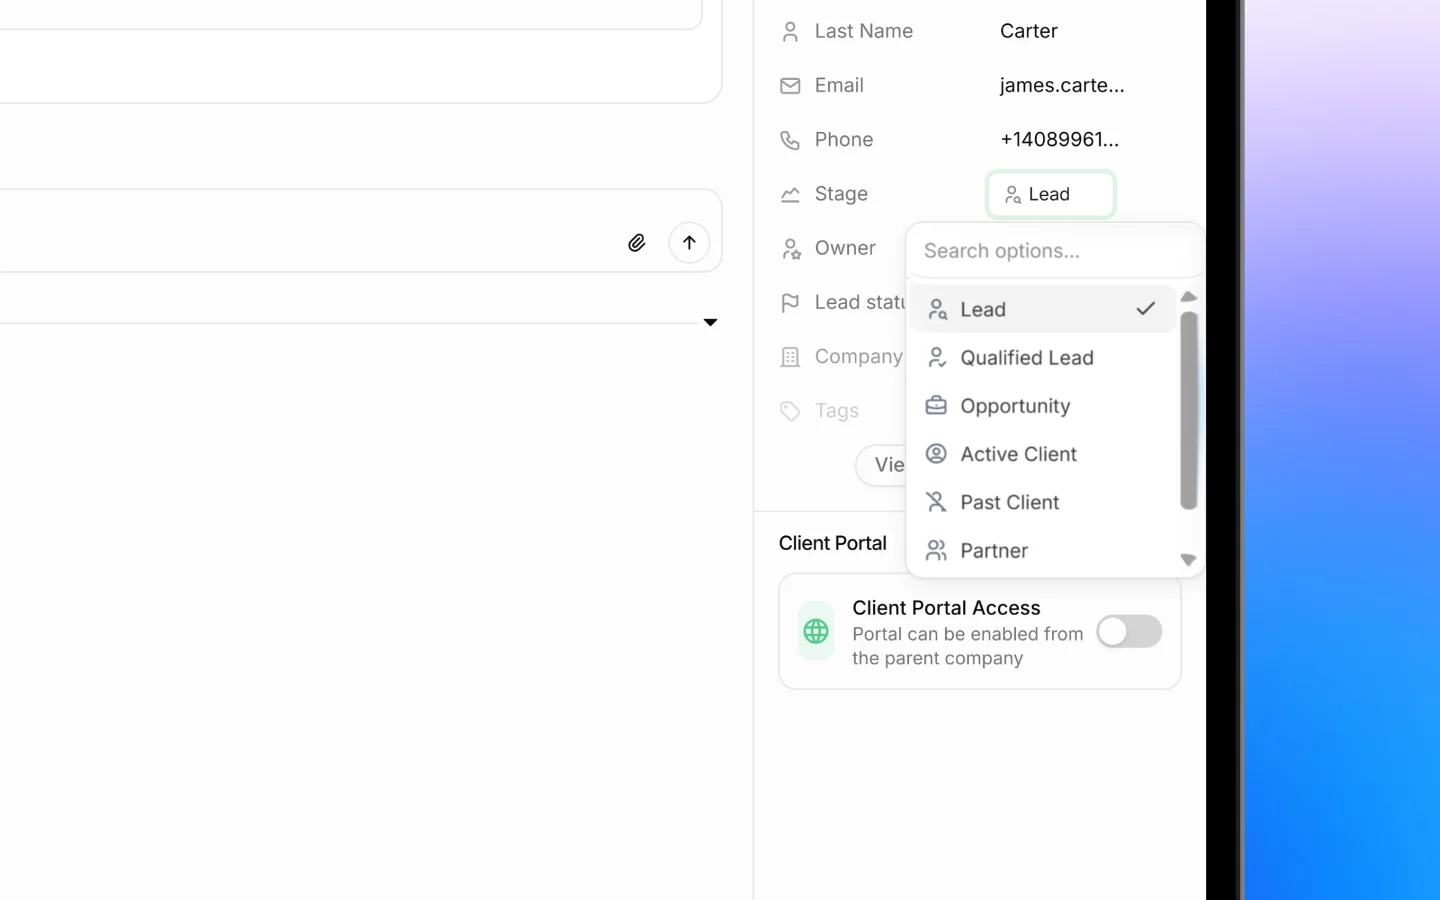
- Stage and Lead status
- Click Add Contact (or press Ctrl + Enter)
Linking a contact to a company
Set the Company field when adding or editing a contact to link them to the business they belong to. A contact belongs to one company, while a company can have many contacts. See Linking contacts to a company for the full process.Contact stages
Like companies, each contact has a stage showing where they stand:- Lead is a new prospect
- Qualified Lead is a prospect who has been vetted
- Opportunity is an active opportunity
- Active Client is a current client
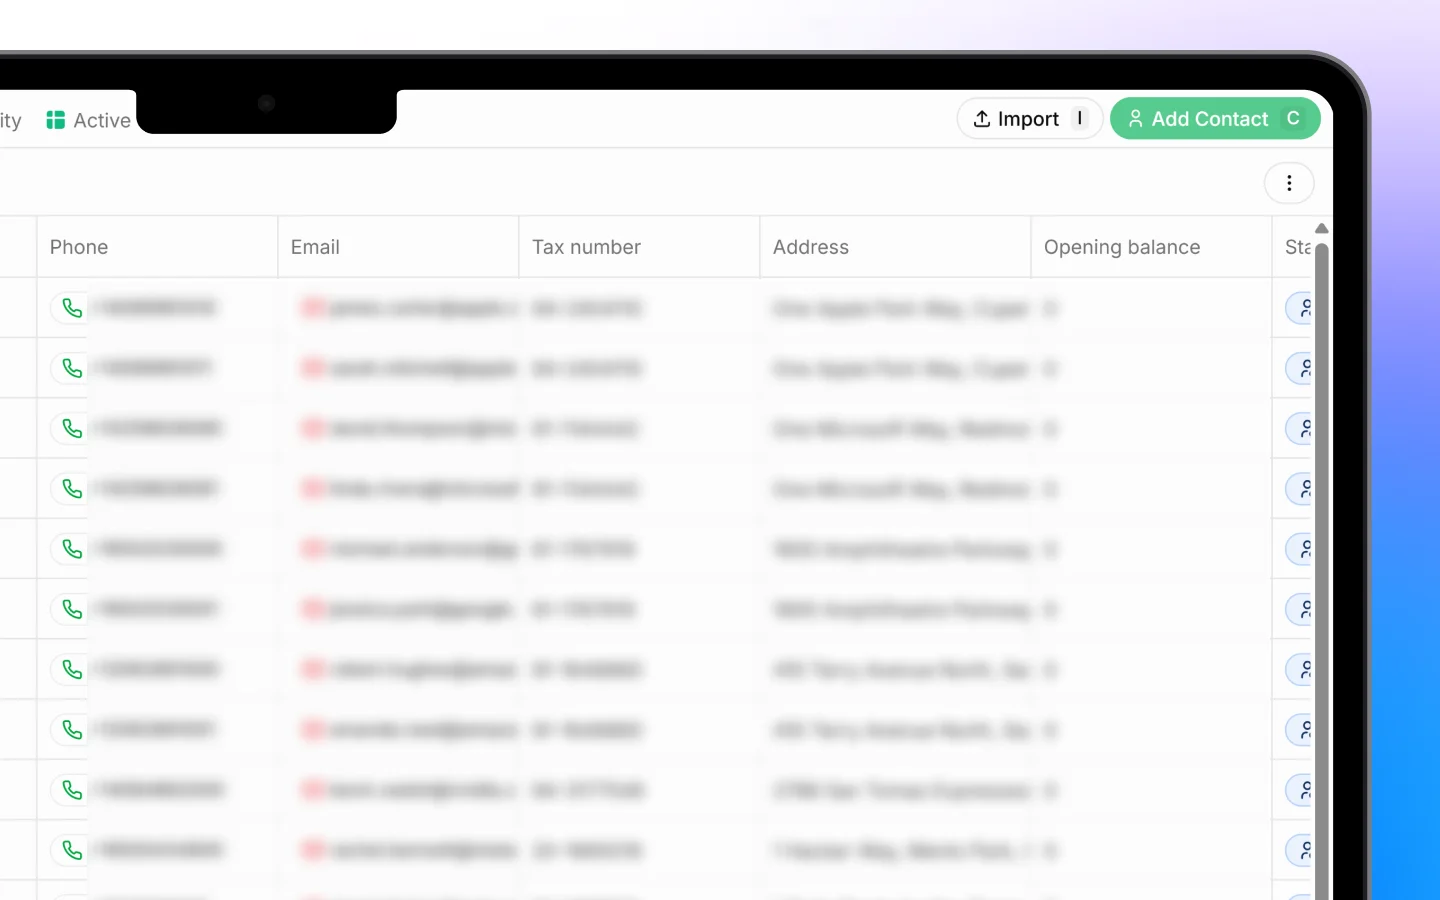
Viewing and organizing contacts
The Contacts page opens in a list, one contact per row, showing columns such as #, Name, Phone, Email, Tax number, Address, Opening balance, Stage, Owner, Tags, and First created. Your total count shows at the bottom (for example, “129 contacts”).Saved views (tabs) Across the top are saved views that filter the list:
- All shows every contact
- Leads shows contacts at the Lead stage
- Opportunity shows active opportunities
- Active clients shows current clients
Sort and filter
- Sort orders contacts by created date and other fields
- Filters narrows the list by your chosen criteria
- The search icon finds a specific contact by name
Editing a contact
Click any contact row to open its full record, where you can update details, see the linked company, and view activity. You can also edit some fields directly from the list:- Stage by clicking the stage cell
- Tags by clicking the + in the Tags column
- Contact details by clicking the relevant cell
Importing contacts
If you have contacts in a spreadsheet, click Import to add them in bulk. The flow has three steps: upload, select header, and map columns. The expected columns include First Name (required), Last Name, Email, Phone, Job Title, Salutation, Company Name, Tax Number, Opening Balance, the Billing Address fields, and Tag. Click Download Template to format your file correctly before uploading. The process is the same as the lead import, covered in Importing leads from a file.What to do next
- Link contacts to companies to keep your data connected
- Create deals tied to a contact
- Send a quotation to a contact