What a custom field is
Every record type in Heffl (leads, deals, clients, projects, quotations, and more) comes with standard fields. A custom field adds an extra field of your choosing to one of those record types. Once created, it appears on that record’s form so your team can fill it in, and it becomes available in filters, documents, and the API. For example, a field service business might add a “Contract End date” to Projects, while an agency might add a “Referred by” field to Leads.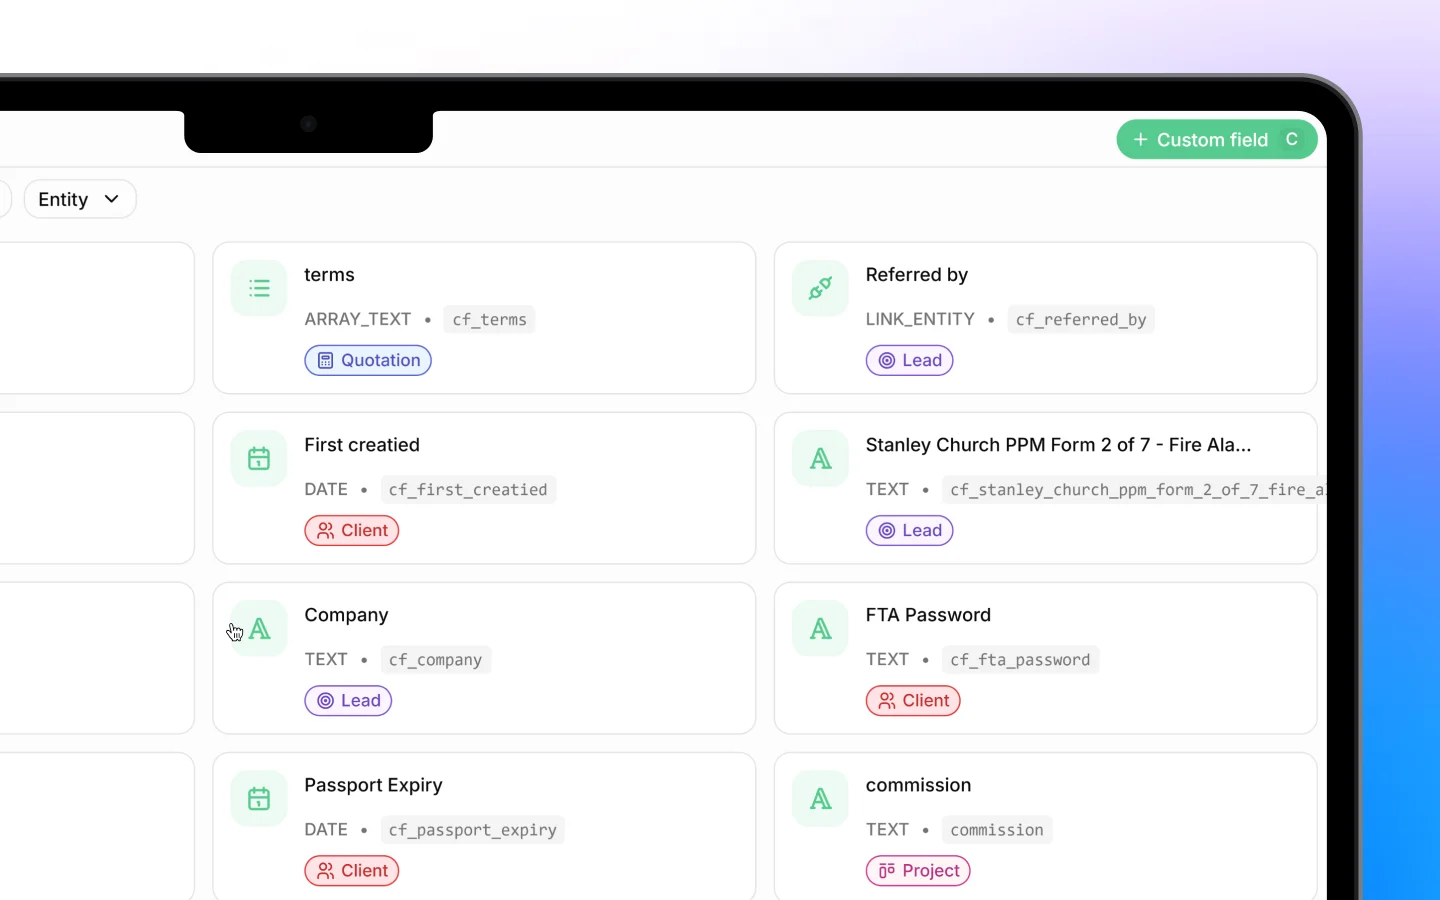
Adding a custom field
- Go to Settings > Custom fields
- Click + Custom field (or press C)
- In the Add custom field dialog, set:
- Object, the record type the field attaches to (such as Lead, Deal, Client, Project, Quotation, Invoice, or Quotation Line Item)
- Type, the kind of data the field holds (see below)
- Label, the field’s name as your team sees it
- API Name, the identifier used in the API, auto-prefixed with
cf_(for example,cf_contract_end_date) - Helper text, an optional placeholder or hint shown on the field
- Required, toggle on to make the field mandatory
- Unique, toggle on to require a different value for every record
- For option-based types, add the choices under Options with Add option
- Click Add field
Field types
Choose the type that matches the data you are capturing:- Text: a single line of text
- Long Text: a longer, multi-line entry
- Number: numeric values
- Date: a calendar date
- Single Option: pick one choice from a list you define
- Multiple Option: pick several choices from a list
- Array Text: a list of text values
- Phone Number: a telephone number
- Email: an email address
- Currency: a monetary amount
- Link: a web URL
- Relation: link to another record
- File Picker: attach a file (available on AppSumo Tier 3)
- Signature: capture a signature (available on AppSumo Tier 3)
Options for choice fields
When you choose Single Option or Multiple Option, an Options section appears. Add each choice with Add option, and reorder them by dragging. These become the selectable values on the field, so your team picks from a consistent list rather than typing free text.Required and unique fields
Two toggles control how a field behaves:- Required means the record cannot be saved without a value, use it for information you must always capture
- Unique means no two records can share the same value, useful for identifiers like a reference or account number
Managing existing custom fields
The Custom fields list shows every field as a card with its label, type, API name (such ascf_passport_expiry), and the entity it applies to. A Required badge marks mandatory fields.
To find a field, use:
- Search to look it up by name
- The Status filter (such as Active)
- The Entity filter to see fields for one record type
How custom fields connect elsewhere
Custom fields are not just for storing data; they flow through Heffl:- They appear on the record’s form for everyone to fill in
- They can be used in filters to segment records
- They are accessible through the API using their
cf_key. See Using the Heffl API. - Document-scoped fields can appear on quotations and invoices