Option 1: Start from a template (recommended)
The fastest way to get going:- Go to Automations and open the Templates tab
- Browse templates by category (Leads, Deals, Quotations, Invoices, Payments)
- Click a template to preview its trigger and steps
- Click Use this template
- Adjust the trigger, steps, and content to fit your business
- Turn the automation on
Option 2: Start from scratch
To build a custom automation:- Go to Automations and click + Automation (or Start from scratch)
- In the Add Automation dialog, enter a Name and an optional Description
- Click Add Automation
- Build the flow in the builder (below)
Building the flow
The automation builder is a visual canvas:- Set the trigger, the event that starts the automation (such as “Deal Stage Changed” or “Lead Created”). This is the first card.
- Add a step, click the + below the trigger to add an action (such as “Send email”)
- Configure each step, set the details, for example the email content for a Send email step, or the task details for a Create Task step
- Add more steps as needed, chaining actions together, and insert a Delay between steps if you want an action to happen later
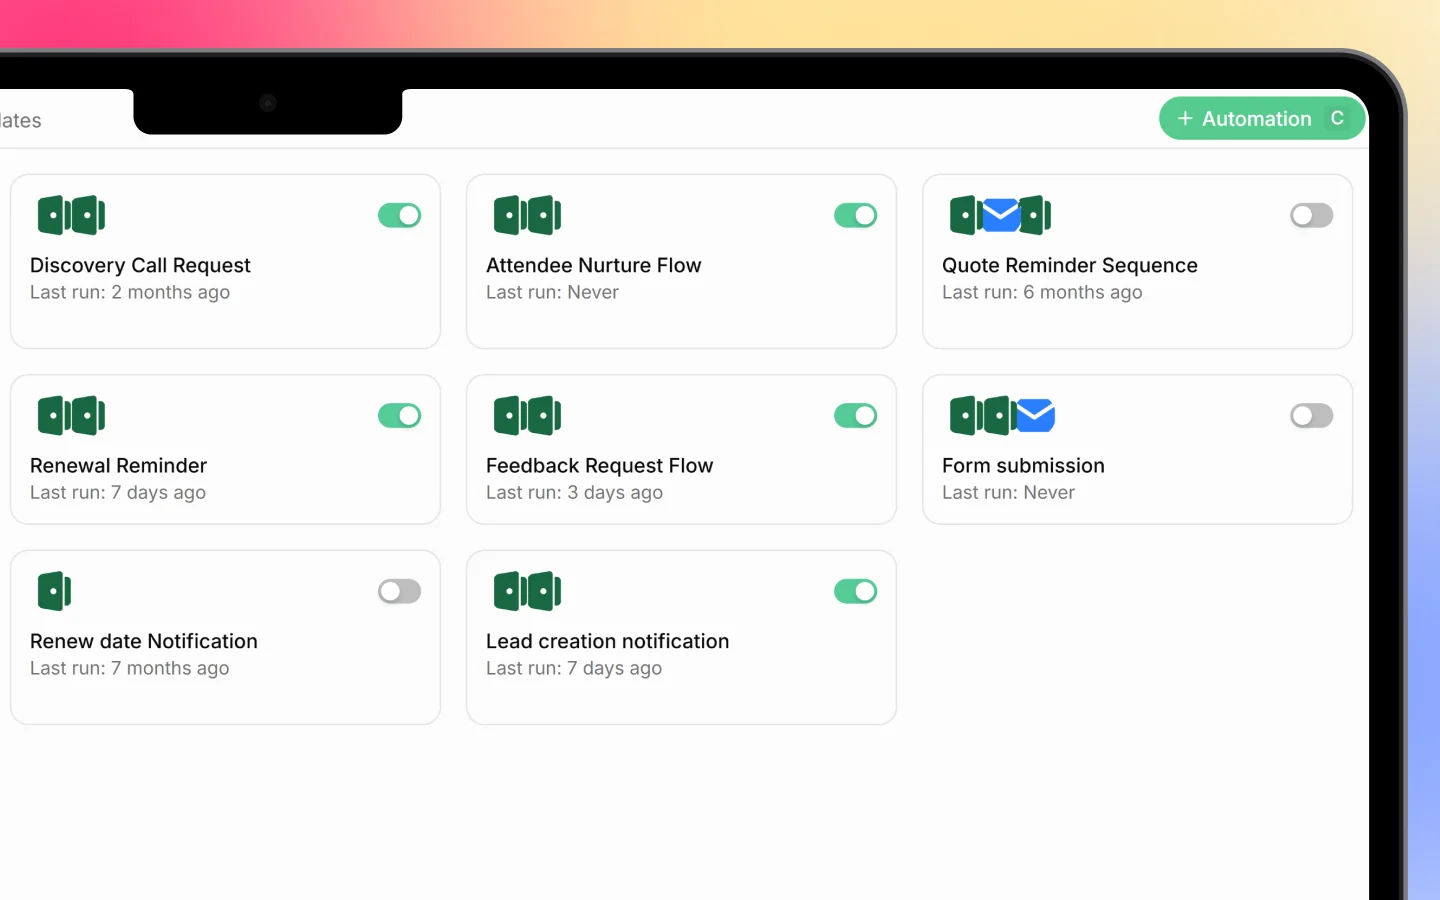
Turning it on
An automation only runs when it is switched on. Use the on/off toggle at the top of the builder, or on the automation in the list. Toggle it off any time to pause it without losing the setup.Managing an automation
From the builder you can:- Edit the trigger, steps, and content
- Duplicate the automation to create a variation
- Open Manage for its settings
- View Runs to see each time it has executed
Testing and troubleshooting
After turning an automation on, check the Runs tab to confirm it fires as expected. Each run shows its status (such as Completed), and if a run fails, it shows the failed step and the error, so you can find and fix the problem. Start simple: a single trigger with one or two actions. Once it runs reliably, add more steps.What to do next
- Browse templates for ideas to adapt
- Check the Runs log to confirm your automation works
- Connect channels like WhatsApp or email so message actions can send