1. Company details
Go to Settings > Company and fill in the following:- Company name
- Logo (used on quotes, invoices, and the client portal)
- Address
- Phone number
- Website
- Default currency
- Timezone
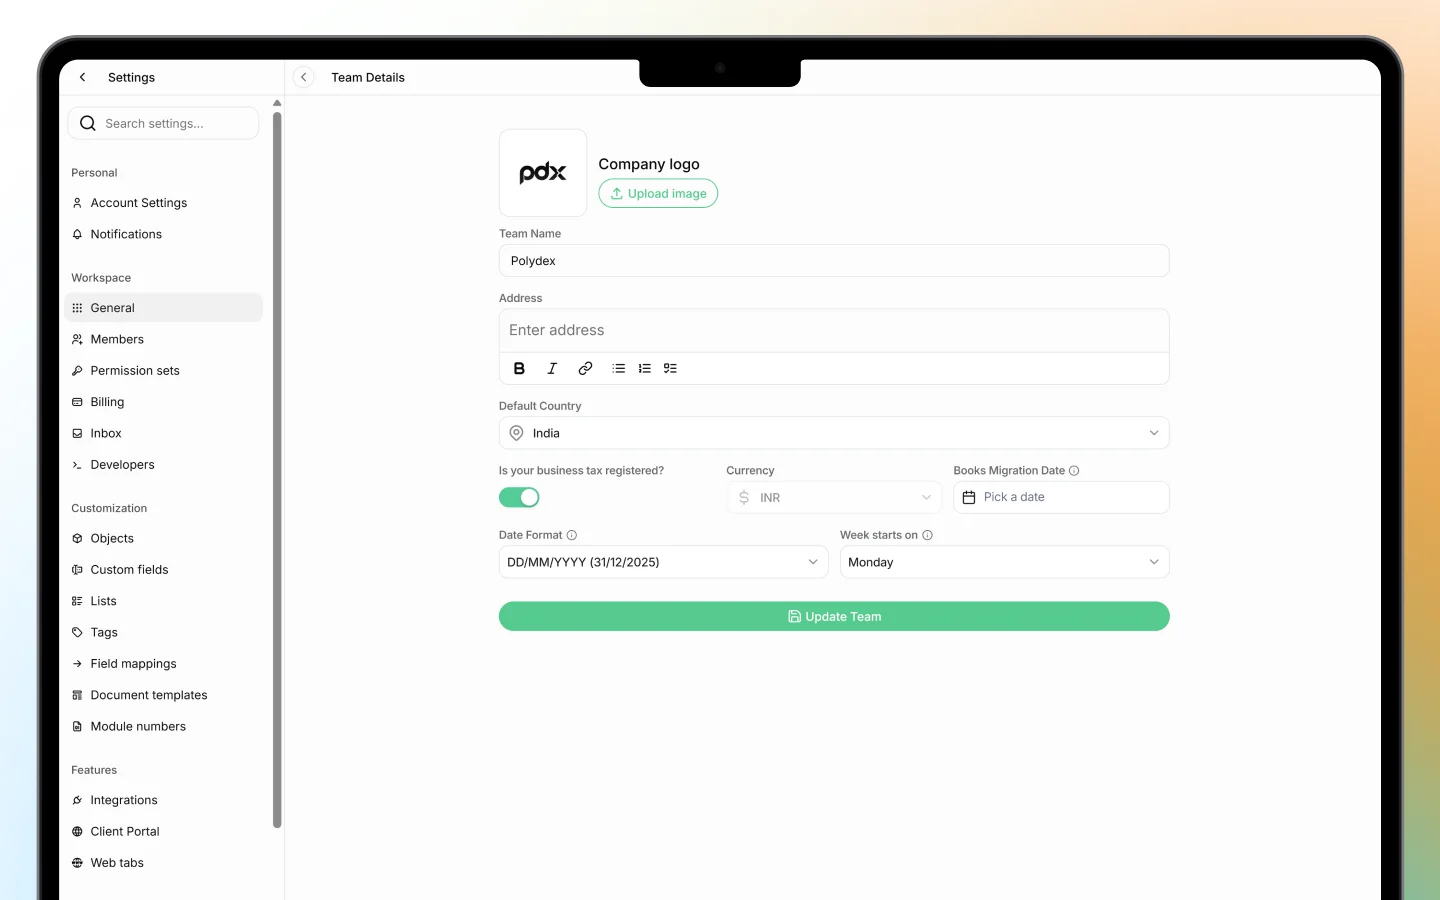
These details appear automatically on all documents you send to clients, so make sure they are accurate before creating any quotes or invoices.
2. Set up your document templates
Go to Settings > Templates to configure the documents you send to clients.- Select a quote template and set a default validity period
- Select an invoice template and configure payment terms
- Add your bank details or connect Stripe for online payments
- Set a default footer message or terms and conditions
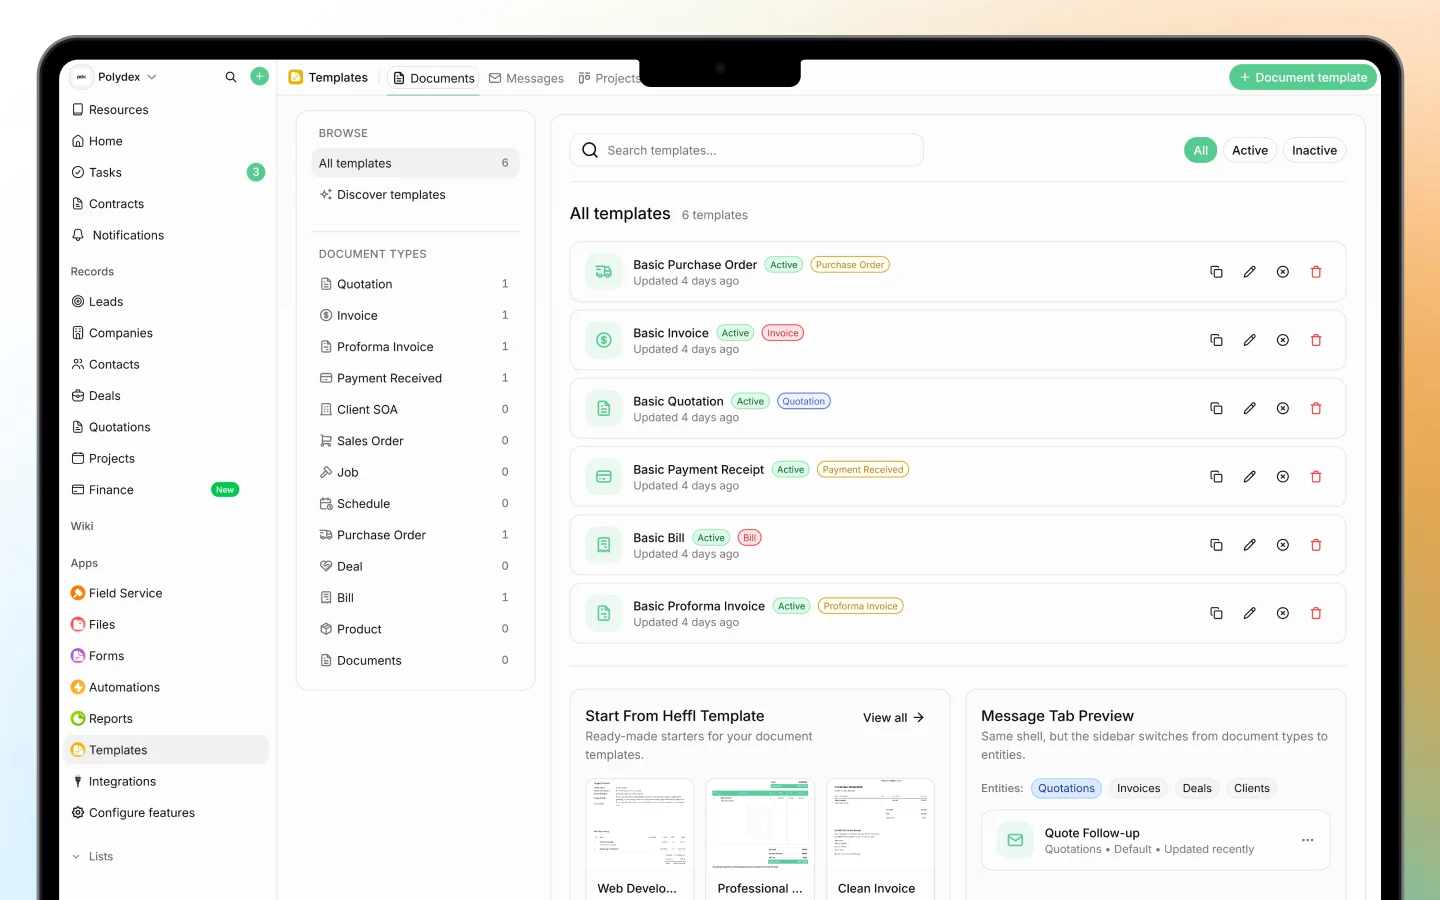
These defaults apply to every new document you create, saving you time on repeat work.
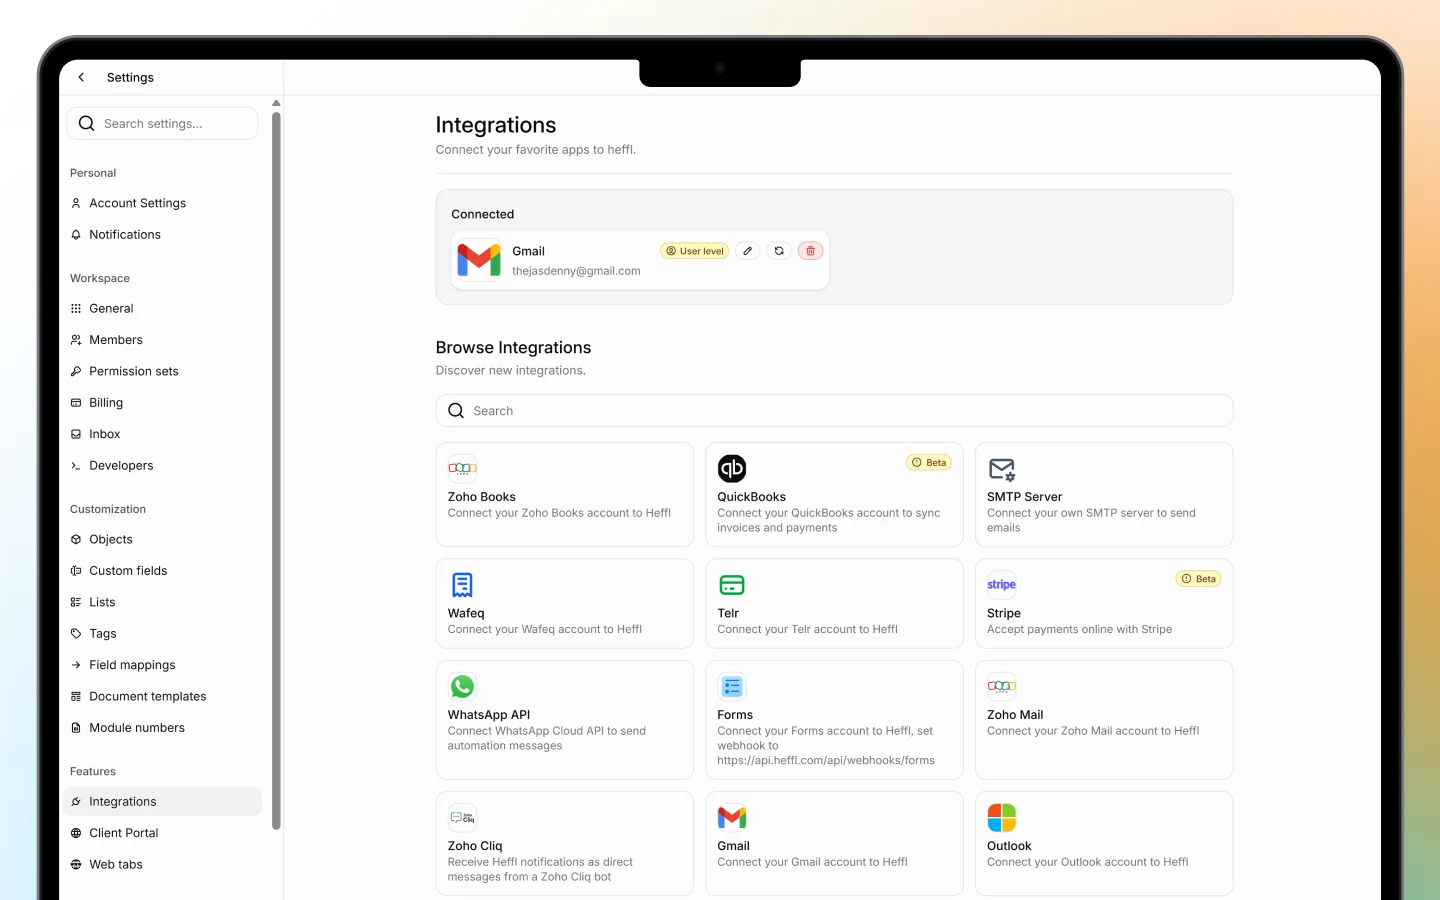
3. Configure your integrations
Go to Settings > Integrations to connect Heffl with the tools you already use.- Email — connect Gmail, Outlook, or Zoho Mail to send documents directly from Heffl
- Accounting — sync invoices with QuickBooks or Zoho Books to avoid double entry
- Calendar — connect Calendly to sync meetings and follow-ups
- Payments — connect Stripe or Telr to accept online payments from clients
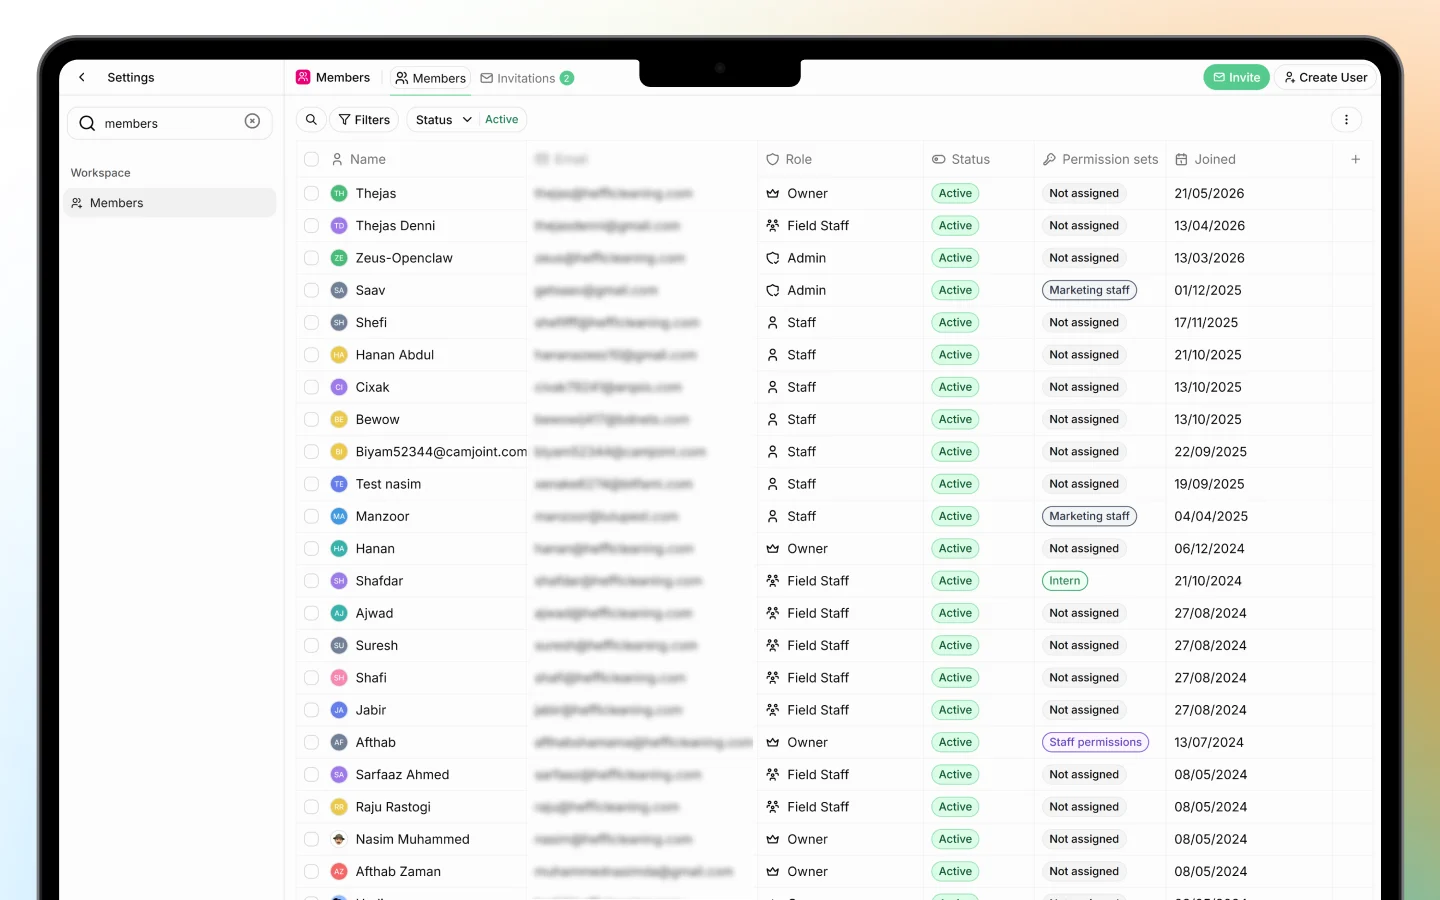
4. Invite your team
Go to Settings > Members and invite your team members.- Click “Invite member”
- Enter their email address
- Assign a role (Admin, Member, or custom)
- Click “Send invite”
What to do next
Once your workspace is set up, here is a suggested order to get started:- Add your first client in CRM
- Create and send a quote from Sales
- Convert the quote to an invoice once accepted
- Schedule a job in Field Service or create a project in Projects
- Invite your team and assign roles