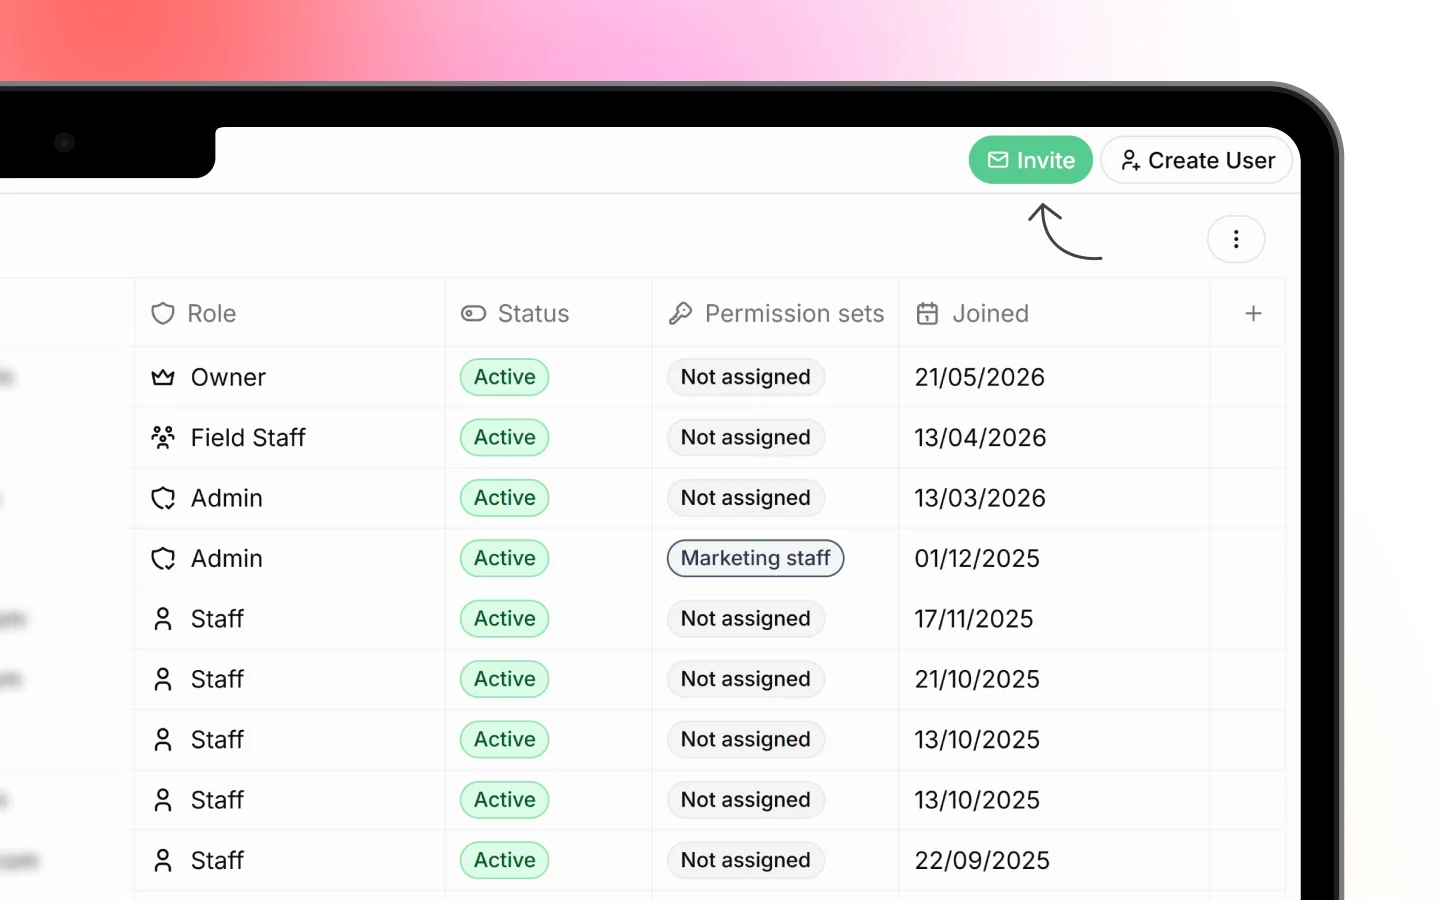
Sending an invitation
- Go to Settings > Organization > Members
- Click Invite
- Enter the person’s email address
- Assign a role (see roles below)
- Assign Permission Set
- Send Invitation
Choosing a role
The role you assign controls what each person can access. Set this carefully, as it determines how much of your business data they can see. Owner The highest level of access. The owner has full control over every module, setting, and team member, and is the only role that can manage billing and delete the workspace. This role belongs to the person who created the workspace and is best kept with the business owner. Admin Full access to all modules, settings, and team management. Admins can invite others, change roles, and edit workspace settings. Assign this only to people you trust with complete control. Member Access only to the modules you assign. Members can do their work but cannot change workspace settings or manage the team. This is the right choice for most people. Field service worker A restricted role for field staff who use the mobile staff app. You can control exactly what they see, including whether client phone numbers and email addresses appear on their schedules. You can change anyone’s role later from Settings > Members.What happens after you invite someone
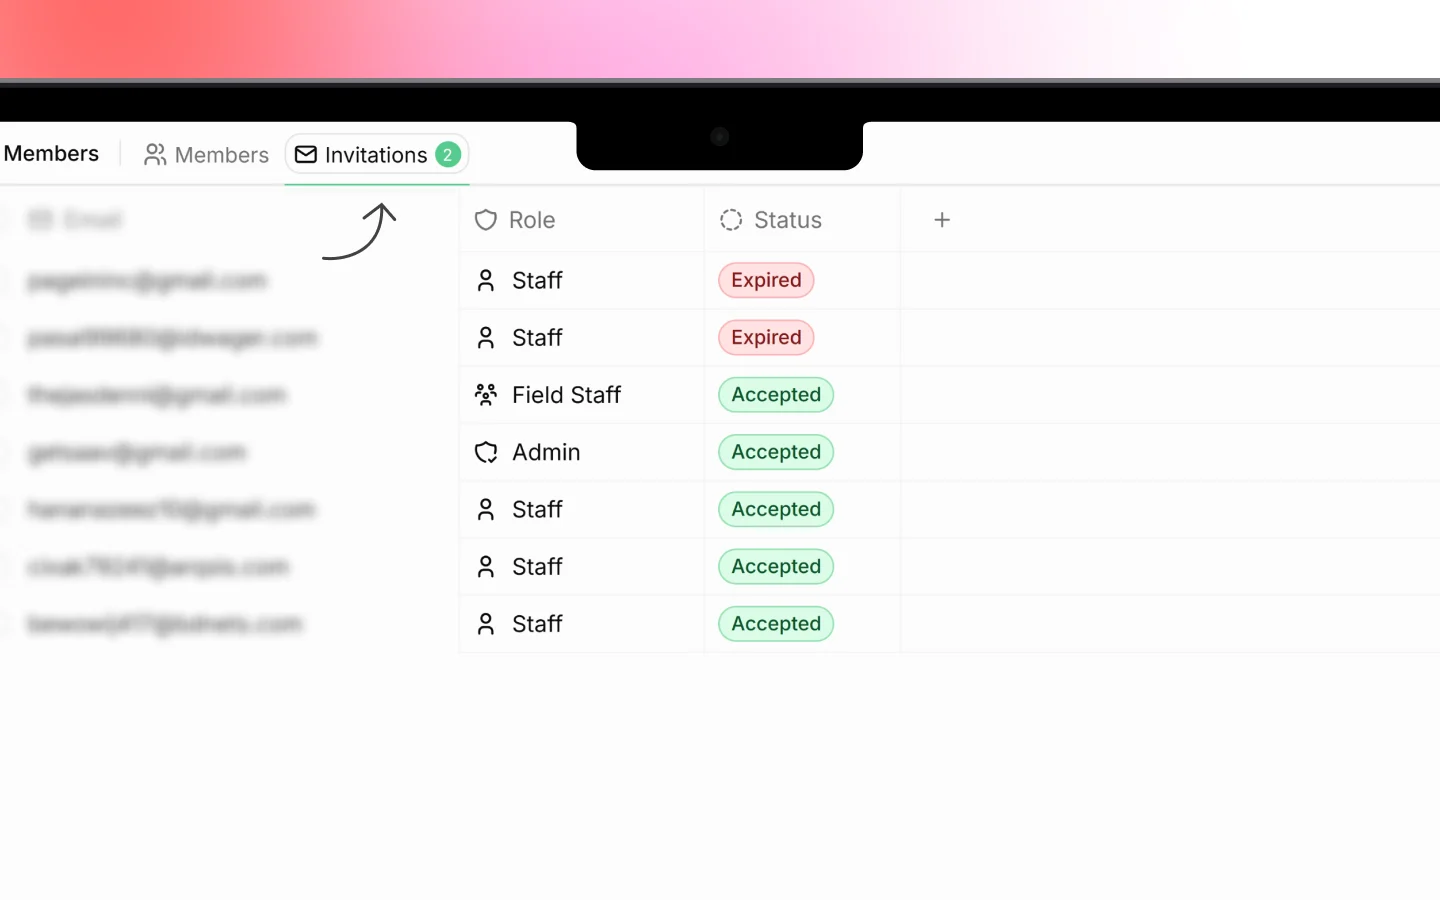
Once you send the invite:- The person appears in your Invitation tab.
- They receive the invitation email
- When they accept and sign up, their status changes to Active
Managing your team
From Settings > Members, you can:- Resend an invite if someone did not receive it
- Cancel a pending invite before it is accepted
- Change a role as someone’s responsibilities change
- Deactivate a member to remove their access without deleting their history
- Reactivate a member to restore access later
Controlling Permission Sets
When you invite a member, you can choose which modules they see by assigning Permission Sets. For example:- A salesperson might get CRM and Sales only
- A project manager might get Projects and CRM
- A technician might get Field Service only
Troubleshooting
The invite email did not arrive- Ask the person to check their spam or junk folder
- Confirm the email address is spelled correctly
- Resend the invite.
What to do next
After your team has joined:- Confirm each person has the right role and permission sets
- Assign tasks or deals to specific members
- Set up notifications so the team stays updated